Photography is make or break when it comes to website design. Swap out Apple’s website with poorly-shot cell phone photos and all of a sudden the website looks like a disaster. But why?
Apples product photos are gorgeous. They speak for themselves.
Your nonprofit organization is the same way. One heartfelt, emotional, high-quality photo can speak volumes without actually saying a word.
Your goal? To get good photos for your nonprofit website. Luckily, we provided a few quick tips on how to get the most out of your photos, whether you have access to a photographer or not.
1.) Make sure your images are clear and focused on the subject
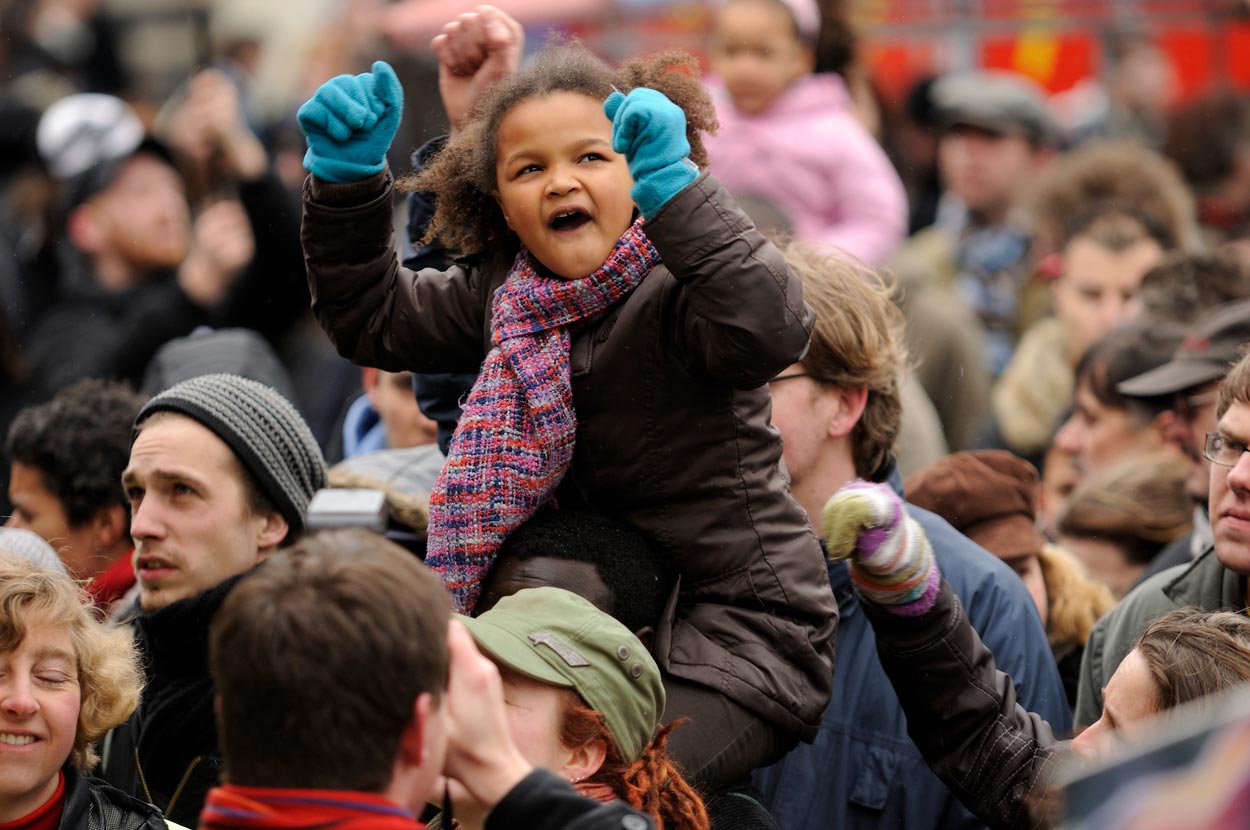
A photo that has a neutral ‘everything’ focus lacks that ‘professional feel’ photos have the power to convey. By using photos that have some things in focus, and other things out of focus, can quite literally change the entire dynamic of the photo.
Look at the below images, for example.

As you can see, the general event shot looks a little blank. However, the focused event shot with the girl as the subject looks—ahh— exciting! This is because the subject is in focus and other things are not.
- Mittun’s Pro Tip #1.1: look out for opportunities where the subject is either closer to the camera—or further away from the camera— to capture. By focusing in on the subject this inevitably puts everything else that’s at a different plane, out of focus
- Mittun’s Pro Tip #1.2: take numerous shots with the subject matter varying from far left, to 1/3 left, to center/center, to 1/3 right to far right. This gives you more options when placing images on your
- Mittun’s Pro Tip #1.3: Use a professional camera with an adjustable focus and a lens with optical (not digital) zoom. This allows you to get that crystal-clear subject yet blurry/less-clear surroundings
2.) Focus on Quality
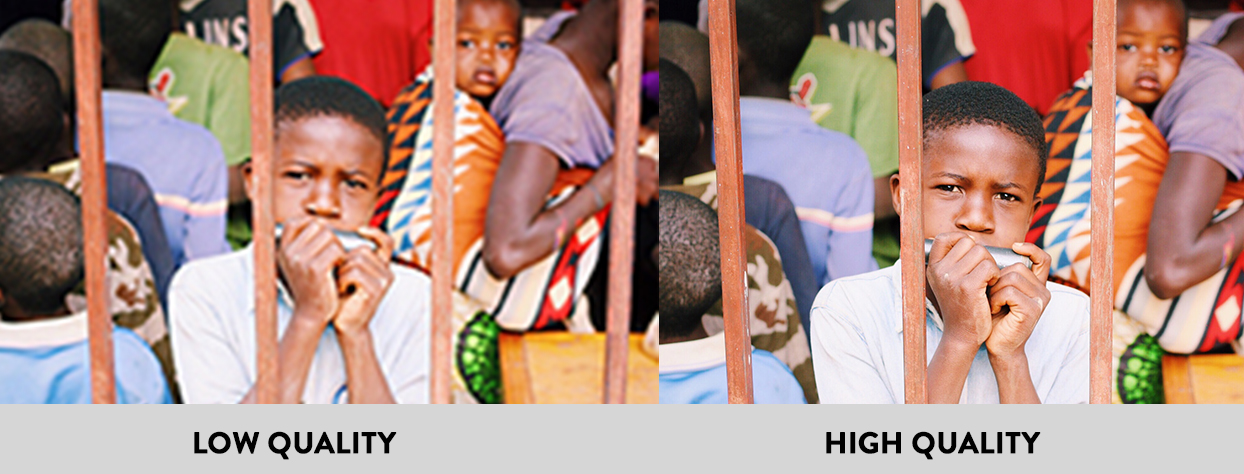
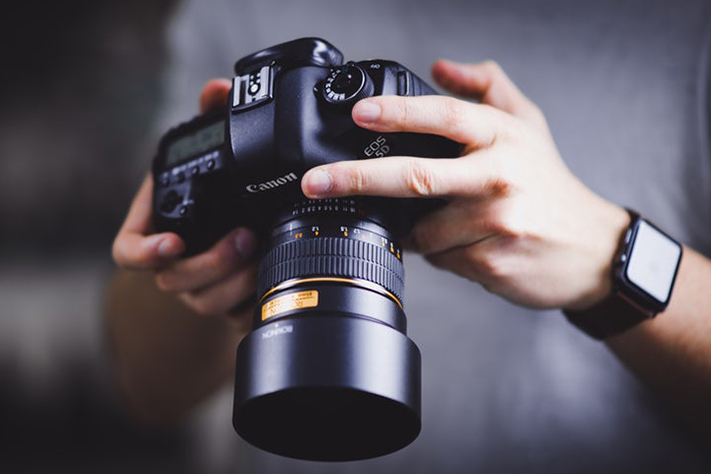
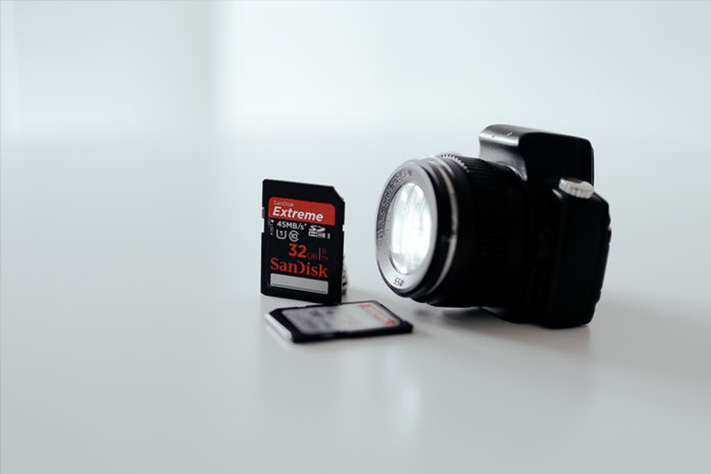
This seems obvious but it’s often overlooked. You want high-quality, high-resolution photos for your website. This is not to be confused with actually uploading the high-resolution version to your website— you want the original, raw photo to be super high resolution so it can be compressed before uploaded for maximum speed.
Look at the below images, for example
- Mittun’s Pro Tip #2.1: Use a high-quality camera or hire a professional photographer
- Mittun’s Pro Tip #2.2: Upload the full-resolution size. Do not compress before sharing with your design team
3.) Capture Emotion
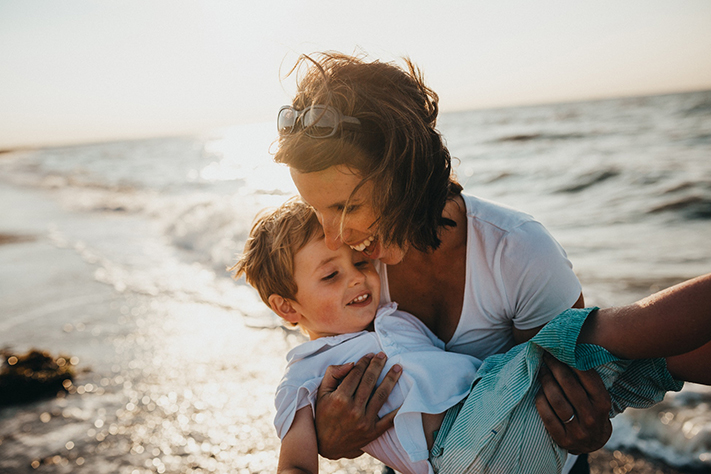
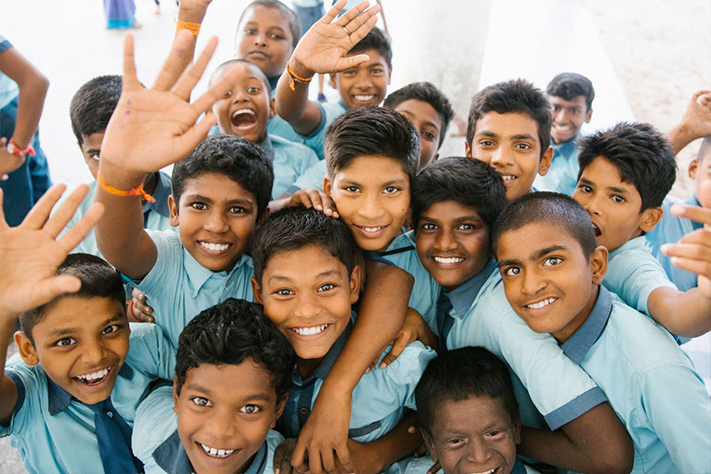
Smiling faces have a way of communicating without saying a word. Decide on the emotion you’d like your users to feel and try to capture that in a photo.
- Mittun’s Pro Tip #3.1: Hire a professional photographer to take candid photos that are not staged. Avoid ‘ok, let’s take a photo’ moments whenever possible
- Mittun’s Pro Tip #3.2: Capture photos of people interacting, especially at moments of laughter or story telling.
4.) Consistent color scheme with your brand
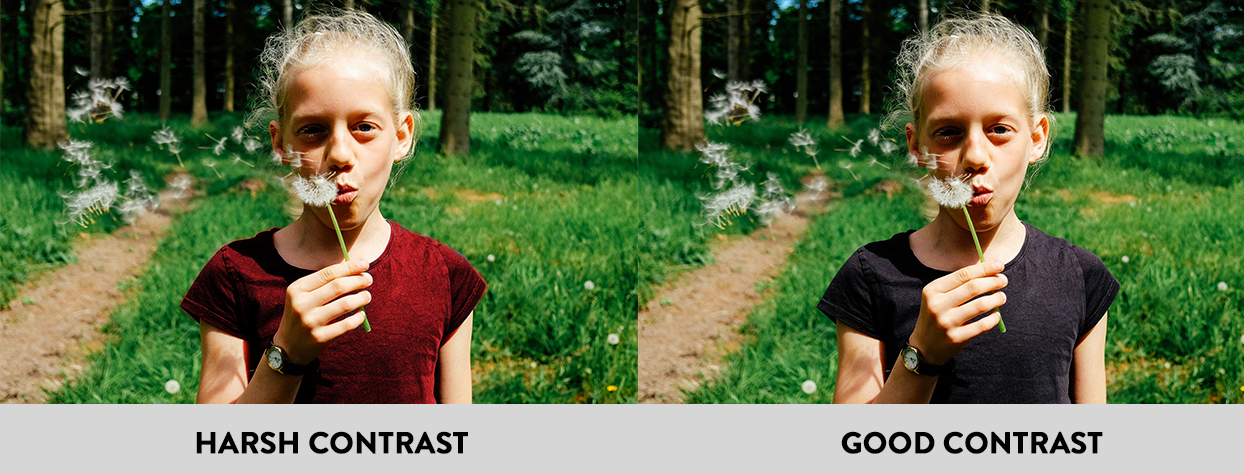
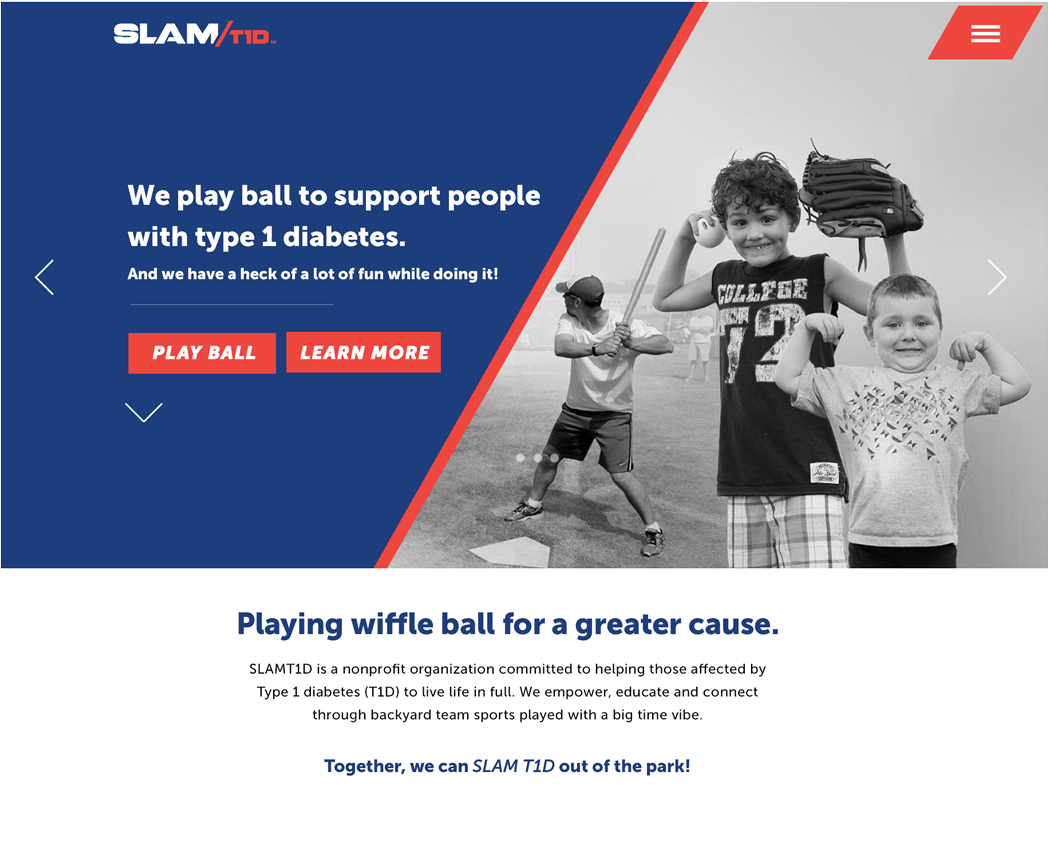
Look for opportunities to capture photos that include colors that resonate with your brand style guidelines. Try to avoid harsh contrasting colors. If your primary color is green, try to use a different photo than a subject in all red— unless you’re going for a Christmas feel.
- Mittun’s Pro Tip #4.1: Think of photos as an extension of your branding style guides, not a separate thing.
- Mittun’s Pro Tip #4.2: Plan the shot ahead of time. Look out for colored backgrounds, colored subject matters and even plan your outfit to ensure the shot is on point.
5.) Images that relate to each page’s primary objectives
What is the goal of each page? What is the ideal outcome that can occur from a visitor visiting your page? How will that user feel and what will their reality be when the complete the intended action? Showcase this in a photo. Showcase the user in ‘triumph’ mode, ‘winning’ at the game of life as they browse your website.
Ok, so what the h*** do we mean?
Create a list (shots list, asset sheet) of all the photos you’d like created.
If it’s the donation page, capture a photo of the impact the donation has. What does their contribution do on the other side? Try to convey that in a photo to make sure the person giving feels good. Better yet, how can you showcase a photo of feeling good from donating, while also showing how good the person on the other end will feel when receiving the donation?
If it’s for an event page— capture a photo of people having the time of their life at an event. If it’s the get involved page, capture people getting involved with your organization. Positive emotions are contagious, and if your photos can express positive emotion through the objectives of the site— you’ll engage more people with your brand.
Mittun’s Pro Tip #5.1: Make an itemized list of all of your primary pages on your website. Look at your Google Analytics if you’re unsure which pages get viewed more than others. Then, make a list of all the primary emotions each page should convey and make another list of all the actions you’d like users to take while on this page.
Mittun’s Pro Tip #5.2: With your lists in hand, schedule a photo shoot (ideally professional) to capture all of these images, considering everything we’ve talked to up to this point. Cell phone photos can— and an emphasis on ‘can’— work, IF taken with intention.
Mittun’s Pro Tip #5.3: By completing tips 5.1 and 5.2, you’ll be in a excellent spot to hire a professional photographer if your photos don’t turn out. You’ll have a completed “shots list” of all intended photos and you’ll also have an ‘example’ directory of all of your ‘not good enough’ photos as reference. This will drastically reduce photography costs since the strategy and shot choices have already been predetermined.
6.) Look for a professional photographer-volunteer
The unicorns of the philanthropic world. Yes they do exist. If you can get a high-end photographer to shoot photos for your organization, for free— take advantage. But understand a few key things before you jump in.
Mittun’s Pro Tip #6.1: Be OK with being on their schedule. When you pay for services, you get things done on your time. When you get volunteers— especially high-end professional ones— you have to be on their time. It’s worth it.
Mittun’s Pro Tip #6.2: Consolidate shots into a single day to get the biggest bang for your buck. In Los Angeles, professional photo shoots can range from $500-10,000 per-location, with fees increasing for multi-day shoots. This doesn’t include editing photos, making selections and delivering the final assets. Your goal is to make the professional happy by having your sh*t together— so you can get the most value out of the least amount time.
Mittun’s Pro Tip #6.3: Have your shots lists decided and finalized before you talk to a photographer. This will make the process go way faster, help eliminate unwanted surprises and will make your photographer more excited to work with you.
Mittun’s Pro Tip #6.4: Offer the photographer public recognition on your website for helping. List them on your partners page and give a link back to their website. Offer to include their name in the photo file name to help them show up on Google Images Search results.
Mittun’s Pro Tip #6.5: Don’t assume you have unrestricted rights, but always ask. When the photographer gives you the photos, are these photos “exclusively your property” or is the photographer still the owner and simply licensing the photos for you to use? Always ask for full, unrestricted rights, but never assume this is the case.
7.) Be clear with expectations on deliverables
What is it that you actually need? You have your shots list finalized, you know which pages need photos captured and you have the photographer all lined up. You need to be crystal clear on your expectations for the final deliverables. This means the actual ‘stuff’ the person taking photos will give you.
Mittun’s Pro Tip #7.1: Ask for the original, raw, unedited photos. Typically photographers will only hand over the final, ‘best’ images that have already been edited. Make sure to get a copy of all the original images too (note: original images can be be massive in size, so make sure you have a Dropbox folder or means of accepting photos, as raw, original photos are NOT used for websites)
Mittun’s Pro Tip #7.2: Ask for the edited, high-resolution web-ready files as well, preferably no smaller than 2,000px wide for horizontal orientation, and no smaller than 2,000px tall for vertical orientation and saved as .jpg or .jpeg extensions.
In Summary
Photos are a critical aspect of your website. It’s important to understand the role they play in your website’s look and feel and to make photography a priority. Please review the recap below and download our website asset checklist right here.
Banner Images / Hero Images
- Subject matter in-focus on left, neutral & out-of-focus background on right
- Subject matter in-focus on right, neutral & out-of-focus background on left
- Subject matter in-focus in the center
Images that convey high-emotion
- Candid photos of people laughing together
- Candid photos of people communicating, with an obvious focal point
Specific images that relate to each page’s primary objectives
- At least one image that is page-specific for every page on your top-tier navigation (items in your top navigation bar)
Download the checklist here: Download Mittun’s Nonprofit Website Asset Checklist




Great article! I’m going to build a nonprofit website, but it will be my first experience, so I’m looking for some useful information. I’ve already chosen a proper website builder among those on http://www.webbuildersguide.com/website-builder-categories/best-website-builders-for-nonprofit-organizations/, but I understand that it was the beginning. I’m glad that I’ve found your post as it is very useful for me and I keep it in mind. Thanks for sharing!